CustomView, ReusableView, 재사용 가능한 뷰 사용하는 방법
공통적으로 쓰이는 View를 1개 만들어서, 여러 화면(ViewController)에서 사용할 수 있는 방법입니다.
Github Sample
https://github.com/eunsuu1015/SwiftSample/tree/master/ReusableView
GitHub - eunsuu1015/SwiftSample
Contribute to eunsuu1015/SwiftSample development by creating an account on GitHub.
github.com
목차
1. ReusableView 생성
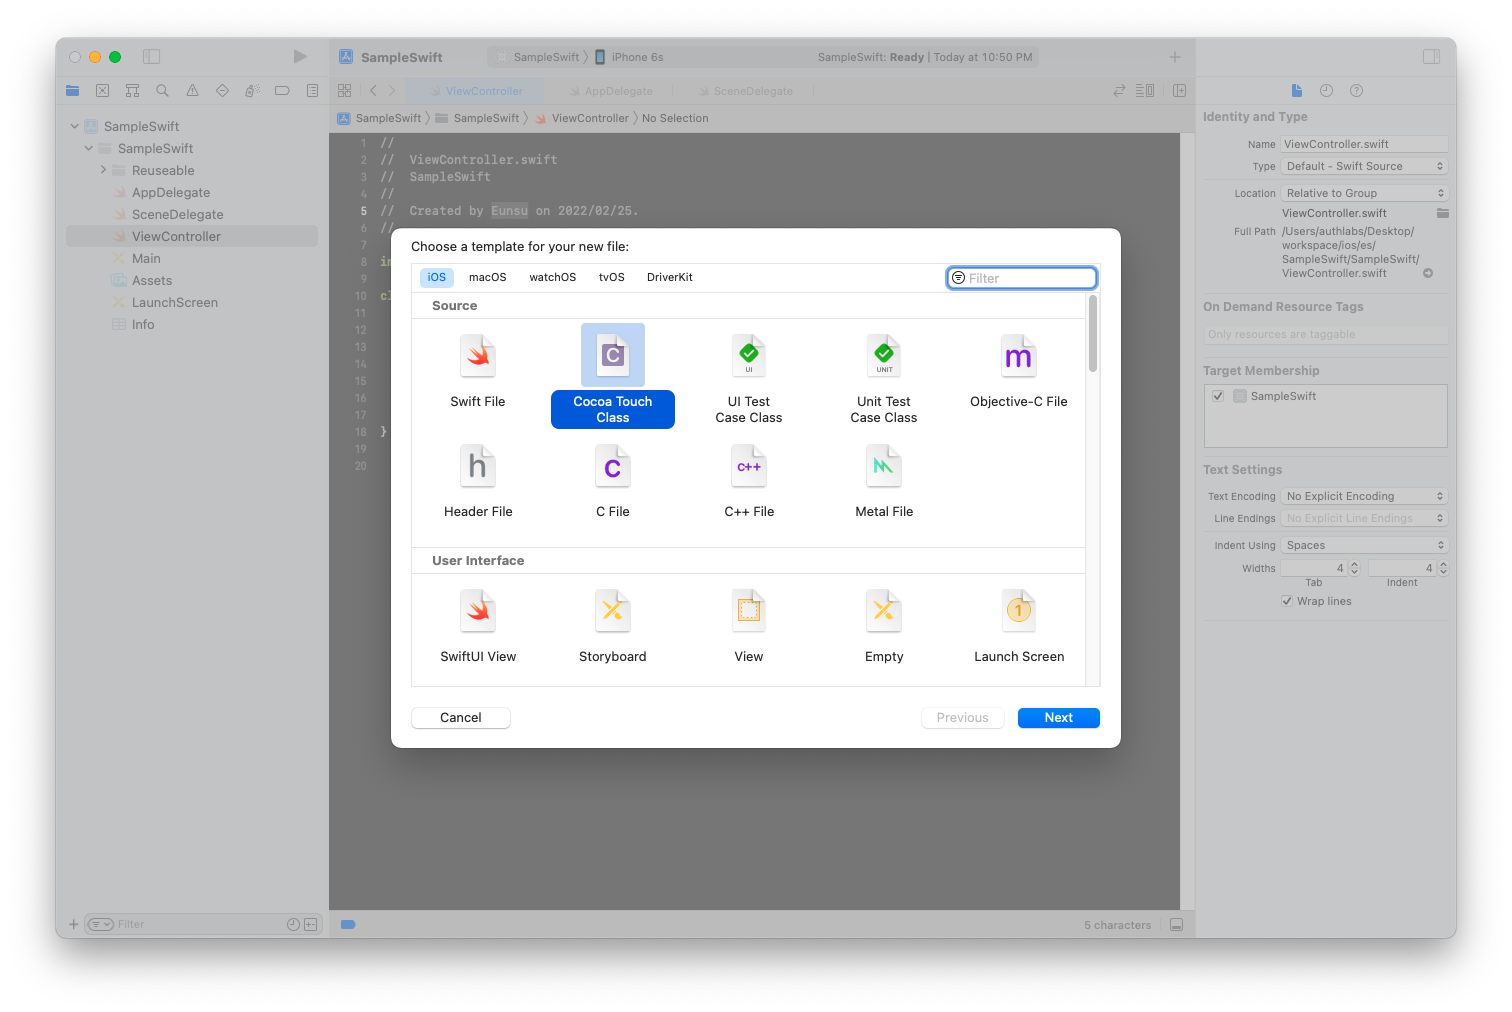
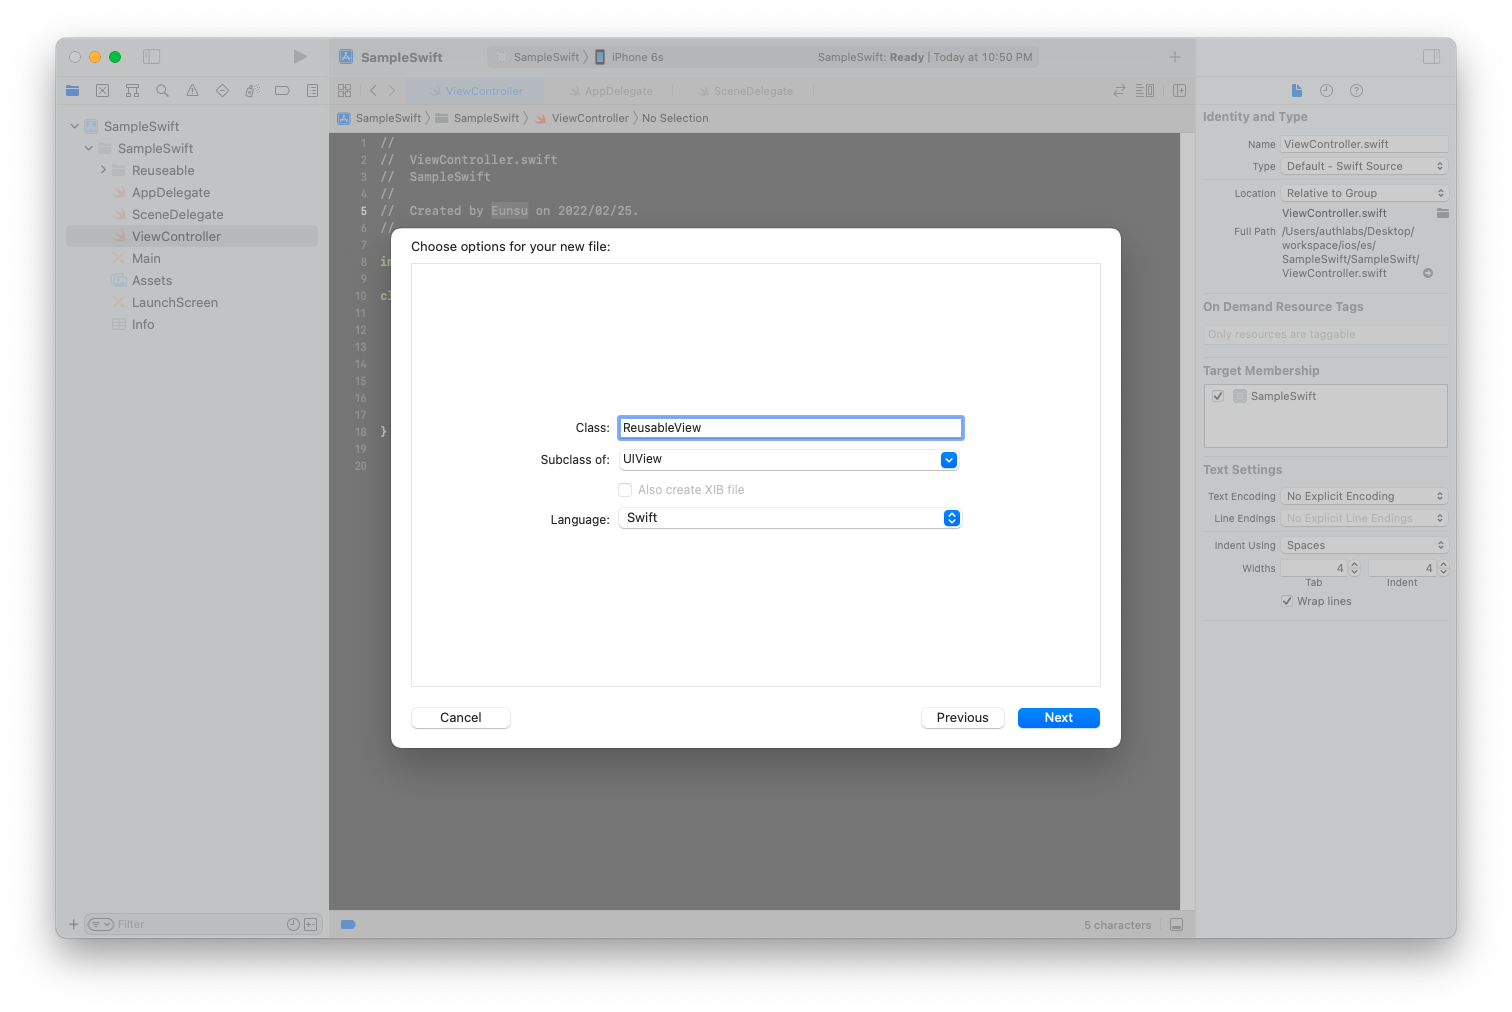
a. ReusableView.swift 생성
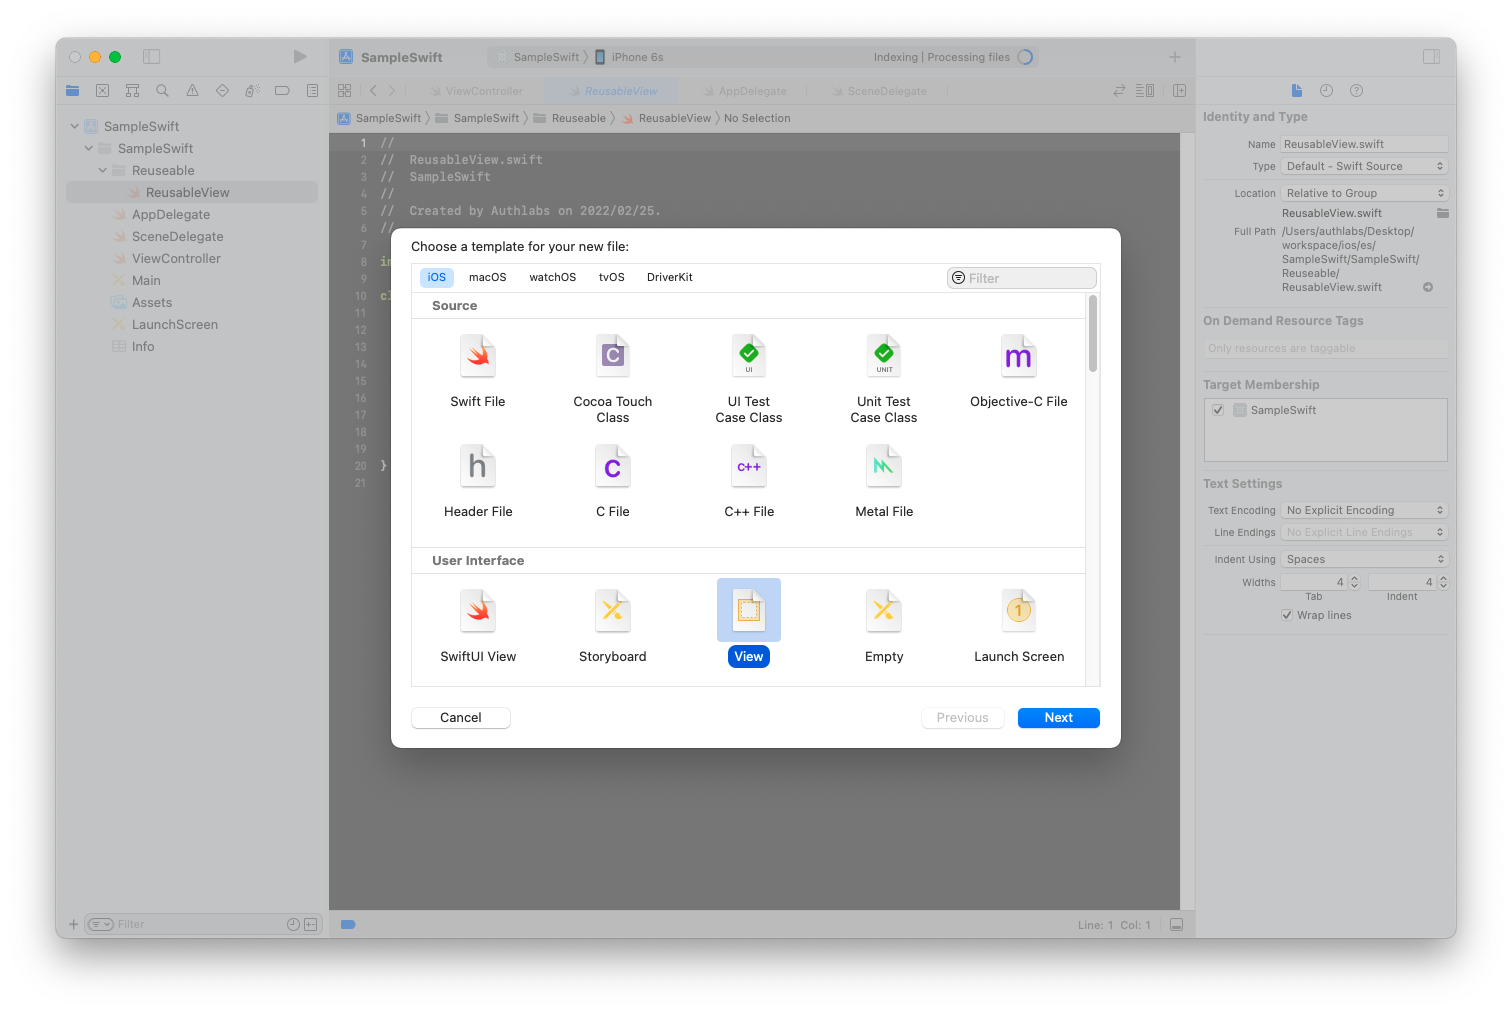
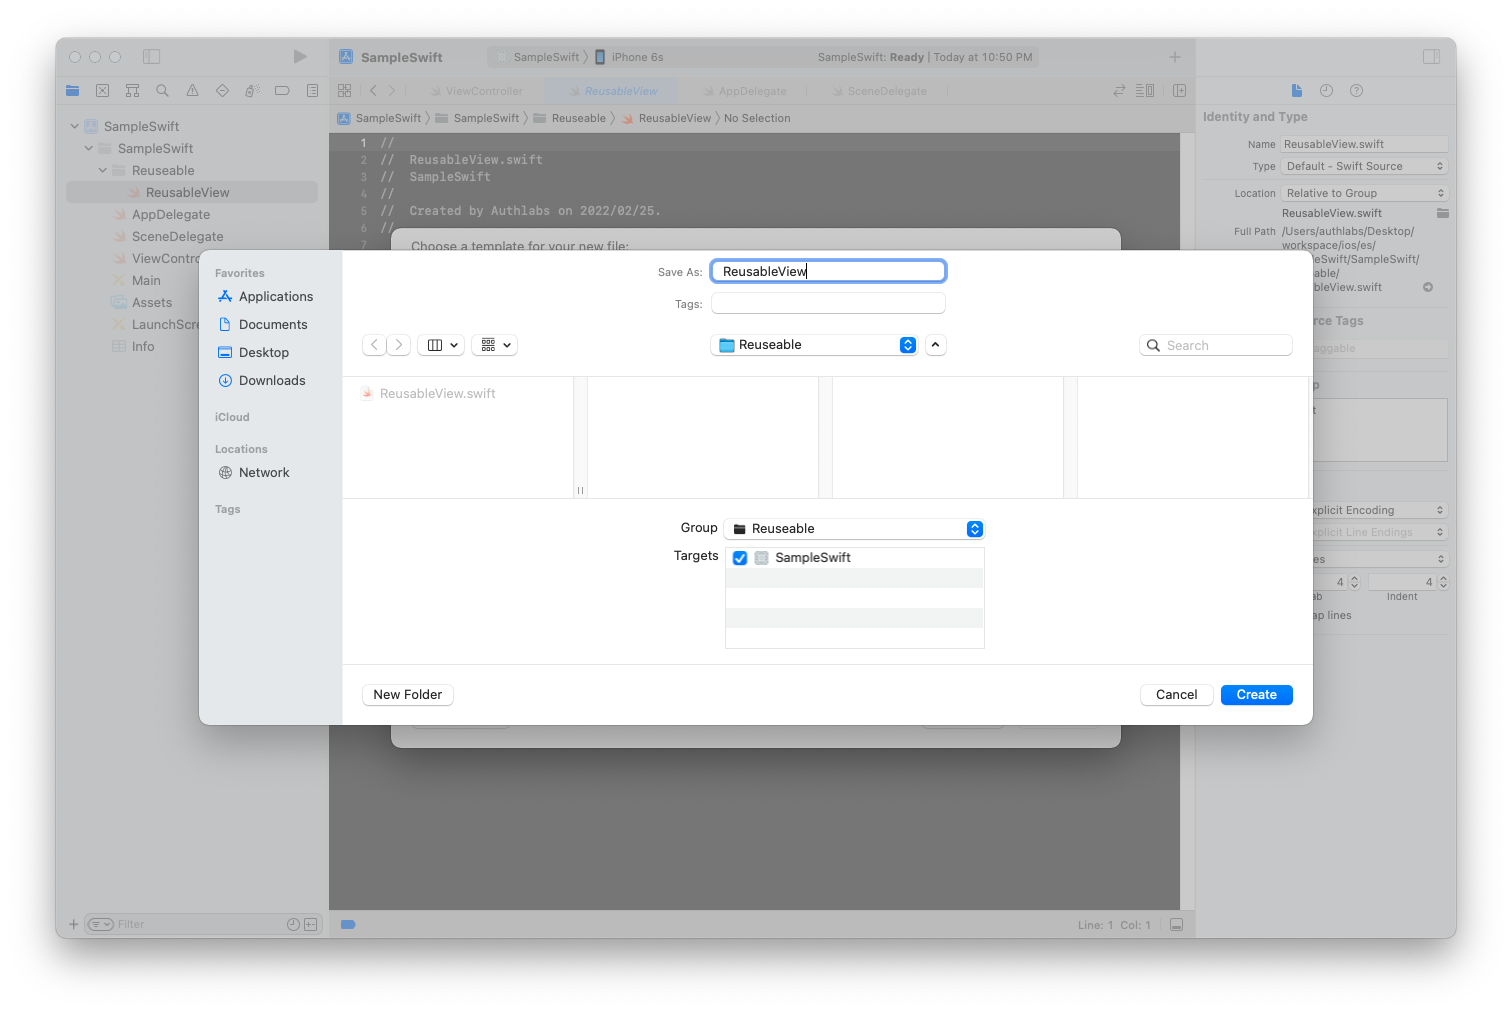
b. ReusableView.xib 생성
2. ReusableView 연결 및 구성
a. ReusableView.xib와 ReusableView.swift 연결
b. Size 설정
c. UI 구성
d. 초기화
3. ReusableView 사용
a. UIView 추가 및 Class 이름 설정
4. 버튼 이벤트 연결
a. ReusableView에서 protocol 추가 및 버튼 이벤트 연결
b. ViewController에서 구현
5. 번외 - Label Text 변경
사용 방법
1. ReusableView 생성
a. ReusableView.swift 생성
b. ReusableView.xib 생성
2. ReusableView 연결 및 구성
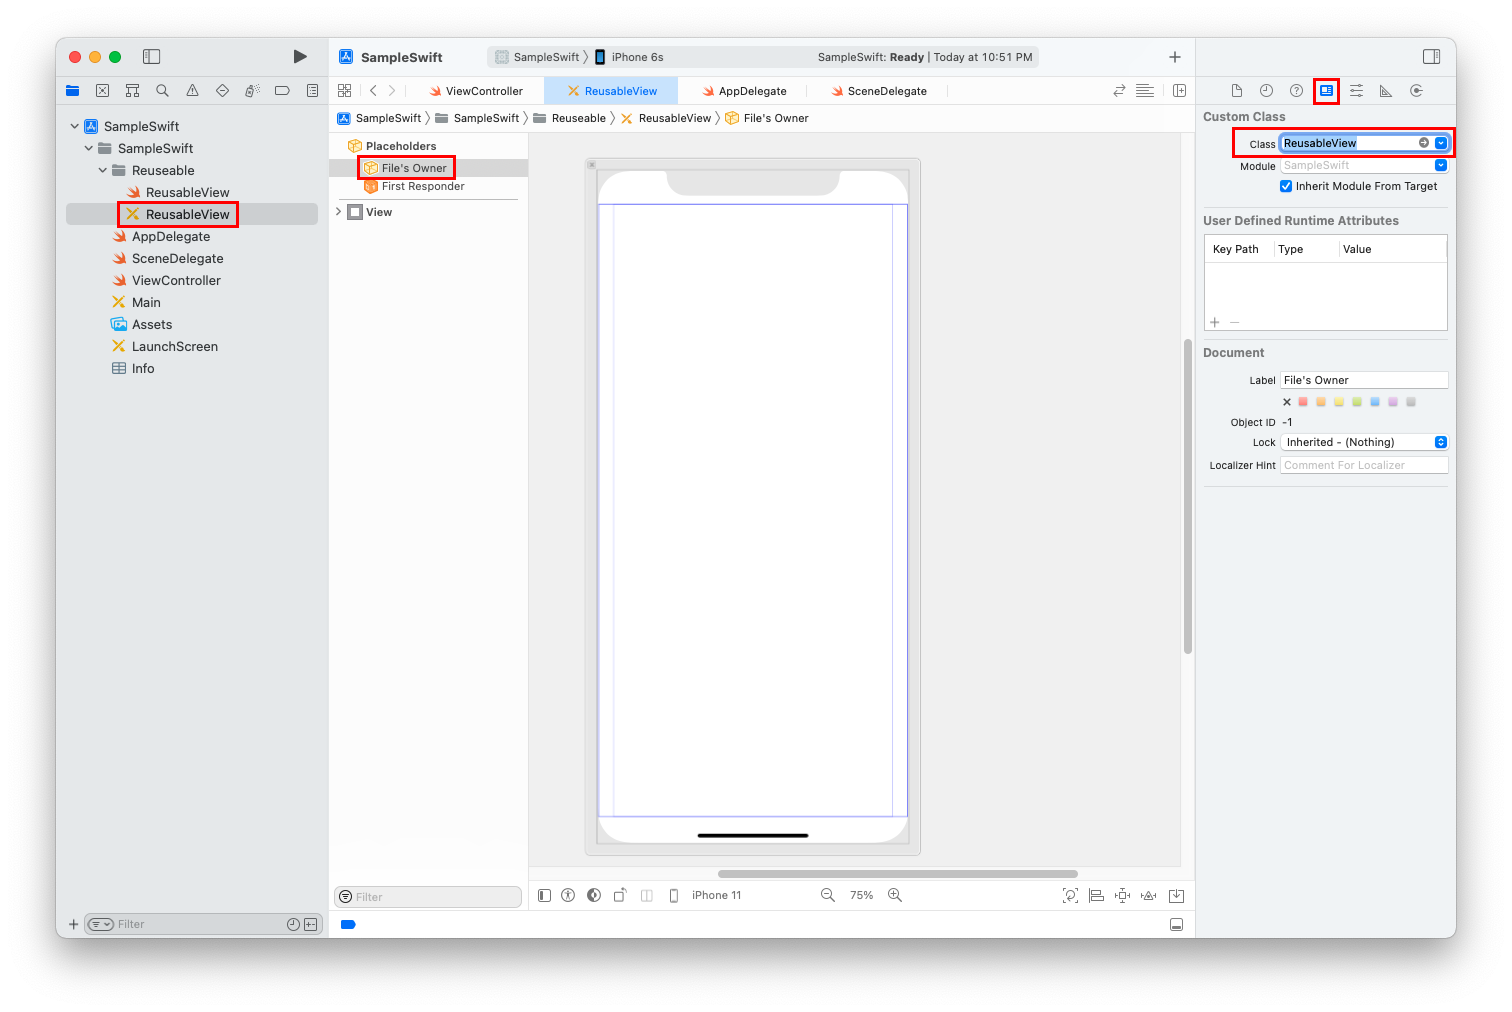
a. ReusableView.xib와 ReusableView.swift 연결
ReusableView.xib - File's Owner 선택 후 Attributes inspector 창에서 Class 이름을 ReusableView로 지정합니다.
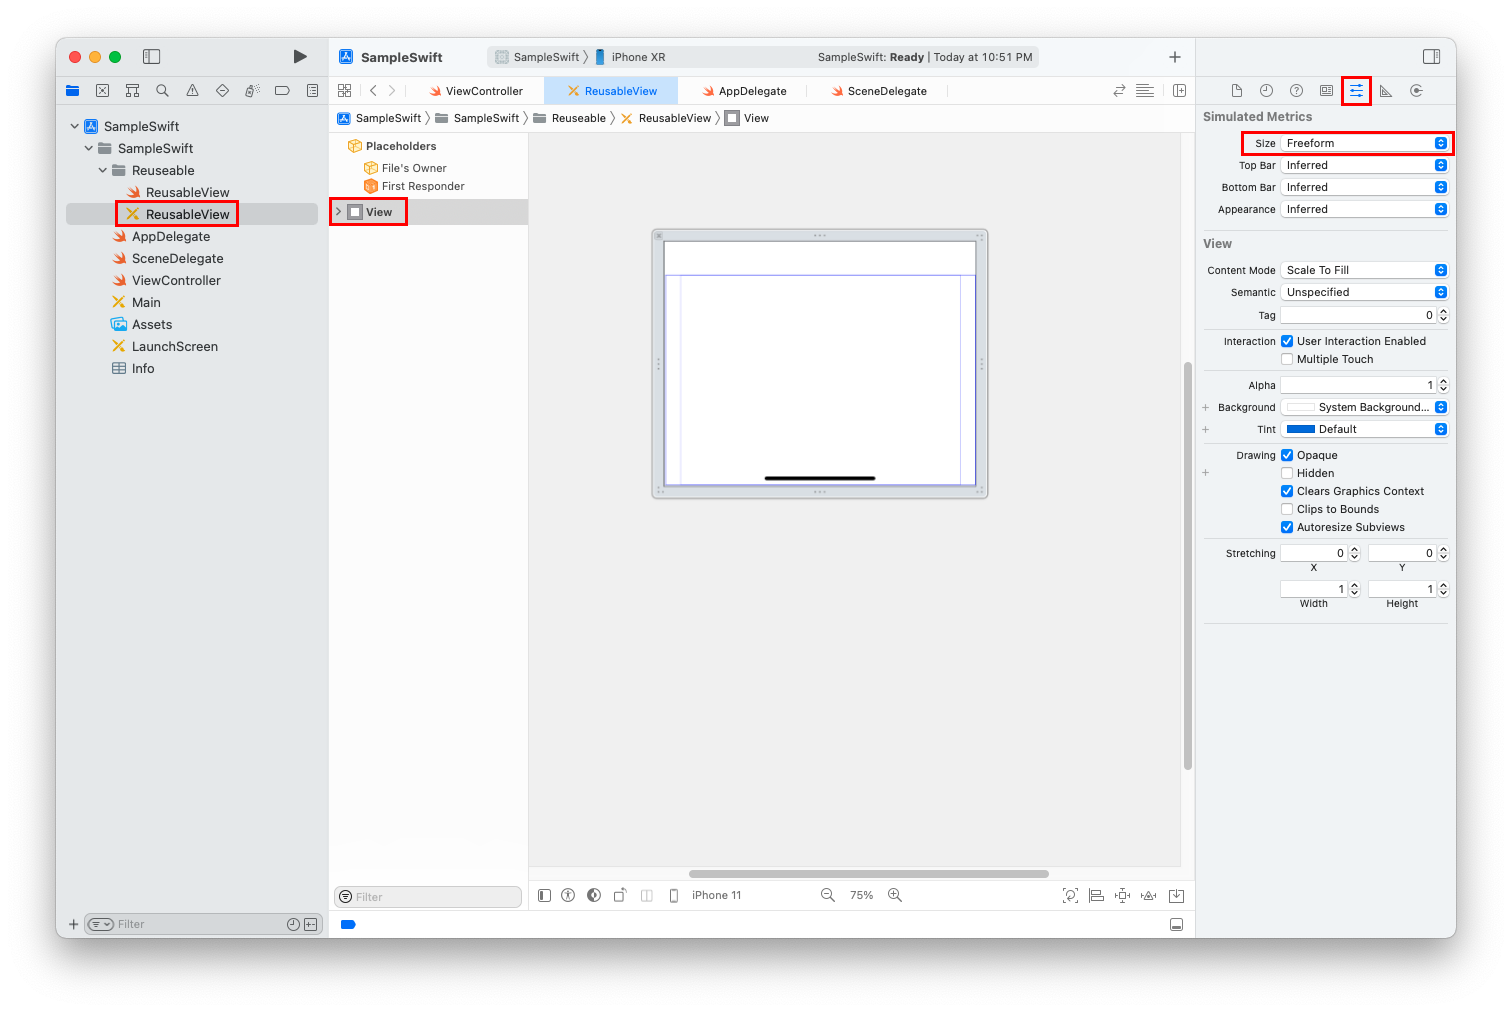
b. Size 설정
사이즈를 자유롭게 사용하려면 View 선택 후 Attributes inspector 창에서 Size를 Freeform으로 변경합니다.
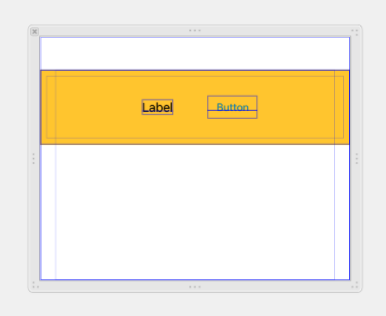
c. UI 구성
샘플은 Label 1개와 Button 1개로 구성했습니다.
d. 초기화
UIView를 초기화하는 코드를 작성합니다.
import UIKit

class ReusableView: UIView {

    @IBOutlet weak var label: UILabel!	// label 연결

    @IBAction func btnClick(_ sender: Any) {	// 버튼 이벤트 연결
    }

    let nibName = "ReusableView"	// xib 이름

    required init?(coder aDecoder: NSCoder) {
        super.init(coder: aDecoder)
        commonInit()
    }

    override init(frame: CGRect) {
        super.init(frame: frame)
        commonInit()
    }

    func commonInit() {
        guard let view = loadViewFromNib() else { return }
        view.frame = self.bounds
        self.addSubview(view)
    }

    func loadViewFromNib() -> UIView? {
        let nib = UINib(nibName: nibName, bundle: nil)
        return nib.instantiate(withOwner: self, options: nil).first as? UIView
    }

}
3. ReusableView 사용
ReusableView를 사용할 ViewControlle에서 사용하는 방법입니다.
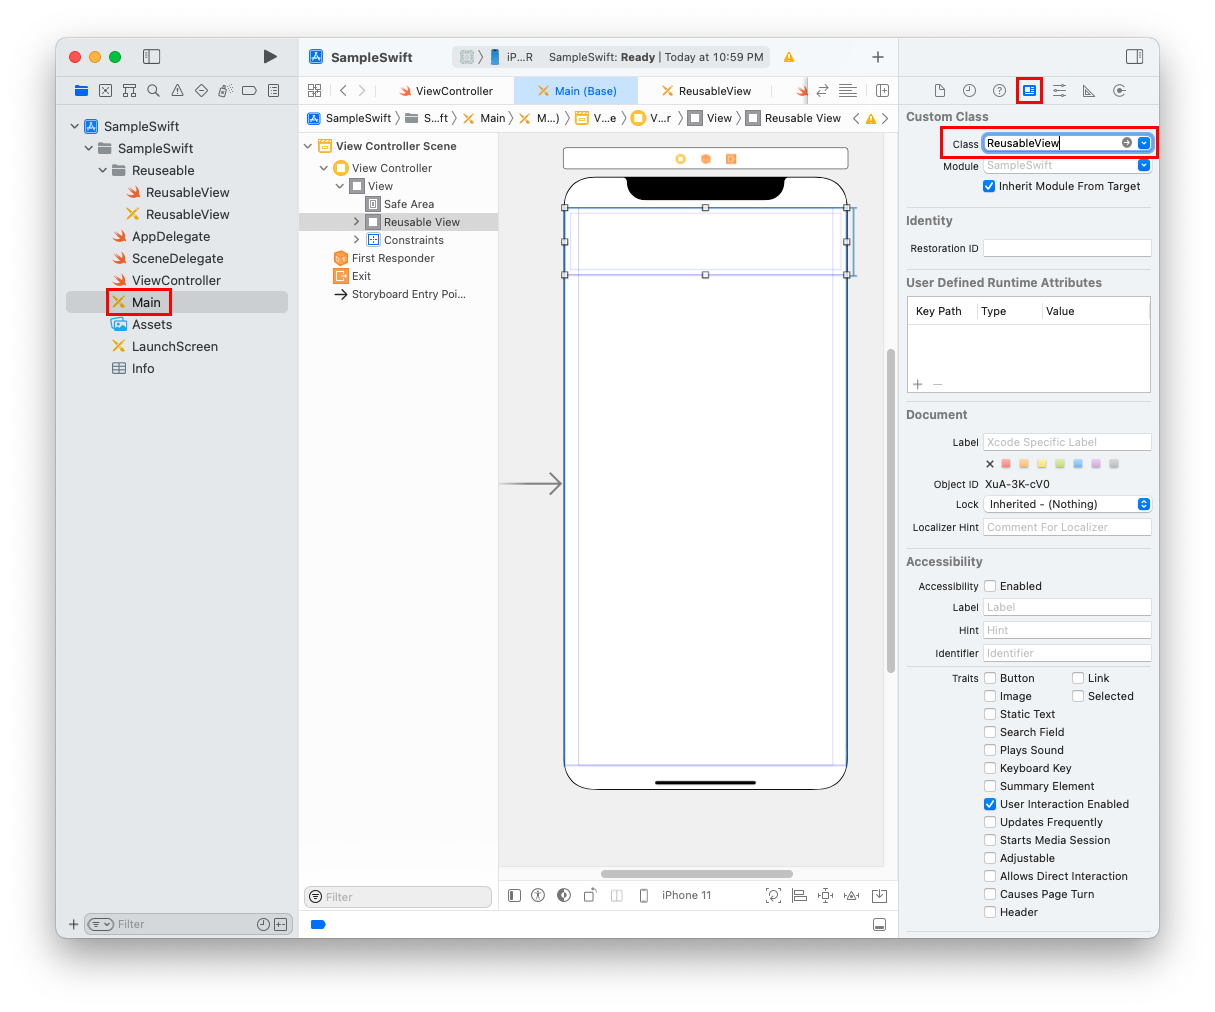
a. UIView 추가 및 Class 이름 설정
UIView 추가 후 Identity Inspector 창에서 Class 이름을 ReusableView로 설정합니다.
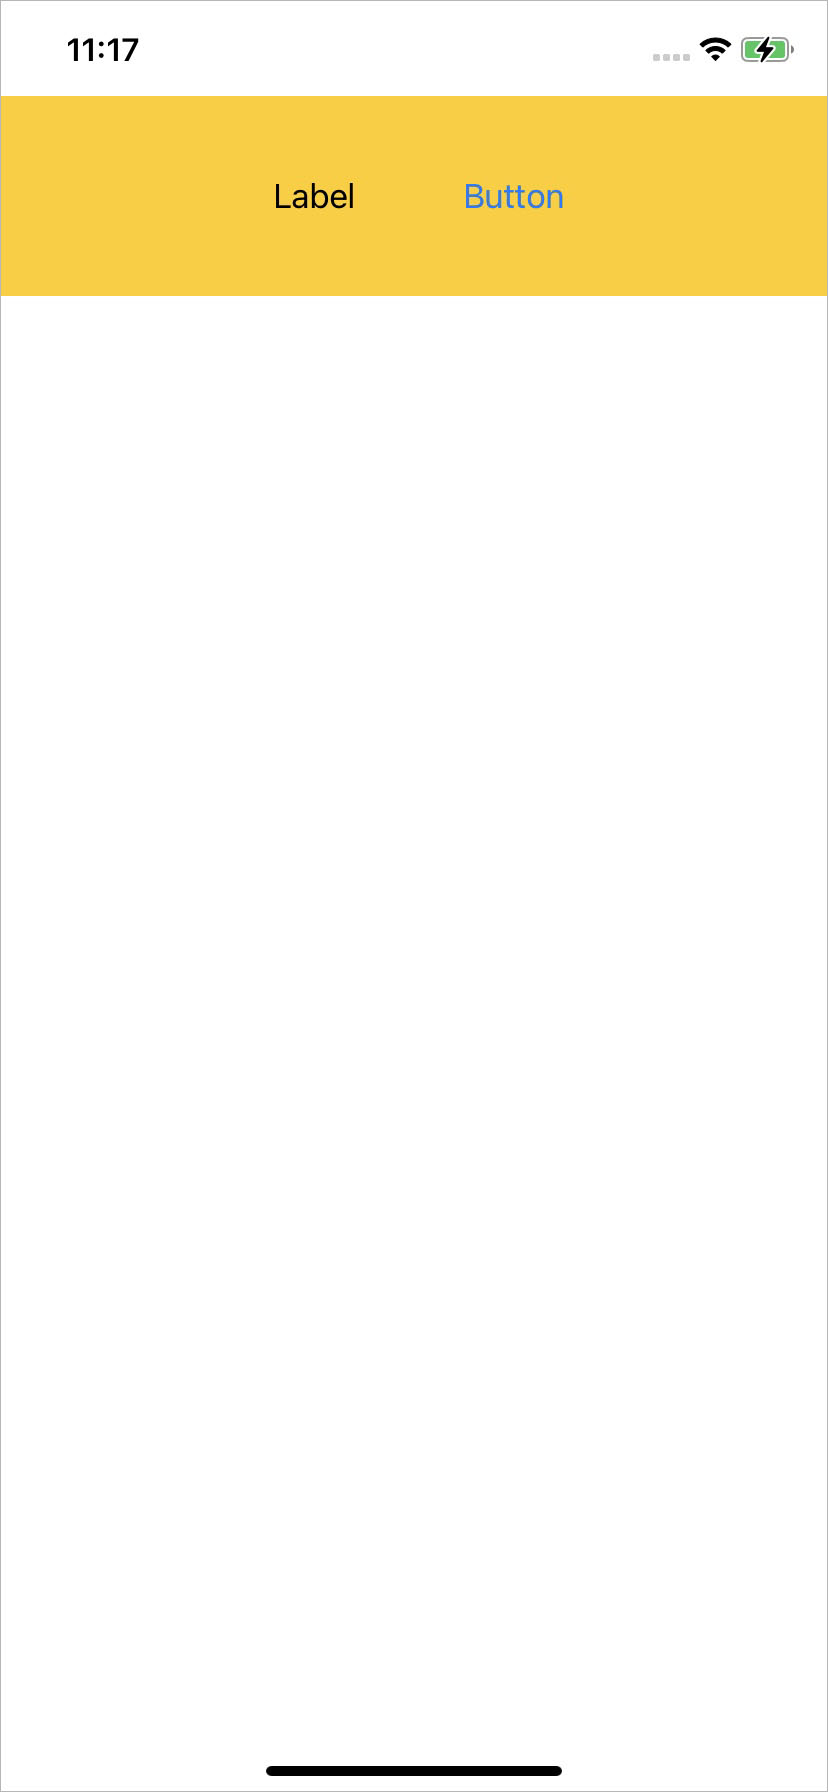
* 실행 결과
xcode에서는 보이지 않지만, 실제로 실행하면 정상적으로 화면에 표시됩니다.
4. 버튼 이벤트 연결
ReusableView에 있는 버튼의 이벤트를 ViewController에서 받는 방법입니다.
a. ReusableView에서 protocol 추가 및 버튼 이벤트 연결
protocol ReusableViewDelegate {
    func btnClick()
}

class ReusableView: UIView {

    var delegate: ReusableViewDelegate?

    @IBAction func btnClick(_ sender: Any) {
        if let del = delegate {
            del.btnClick()
        }
    }

}
b. ViewController에서 구현
class ViewController: UIViewController, ReusableViewDelegate {

    @IBOutlet weak var reusableView: ReusableView!

    override func viewDidLoad() {
        super.viewDidLoad()
        reusableView.delegate = self	// delegate 설정
    }

    // ReusableView 버튼 클릭됨
    func btnClick() {
        print("btnClick")
    }

}
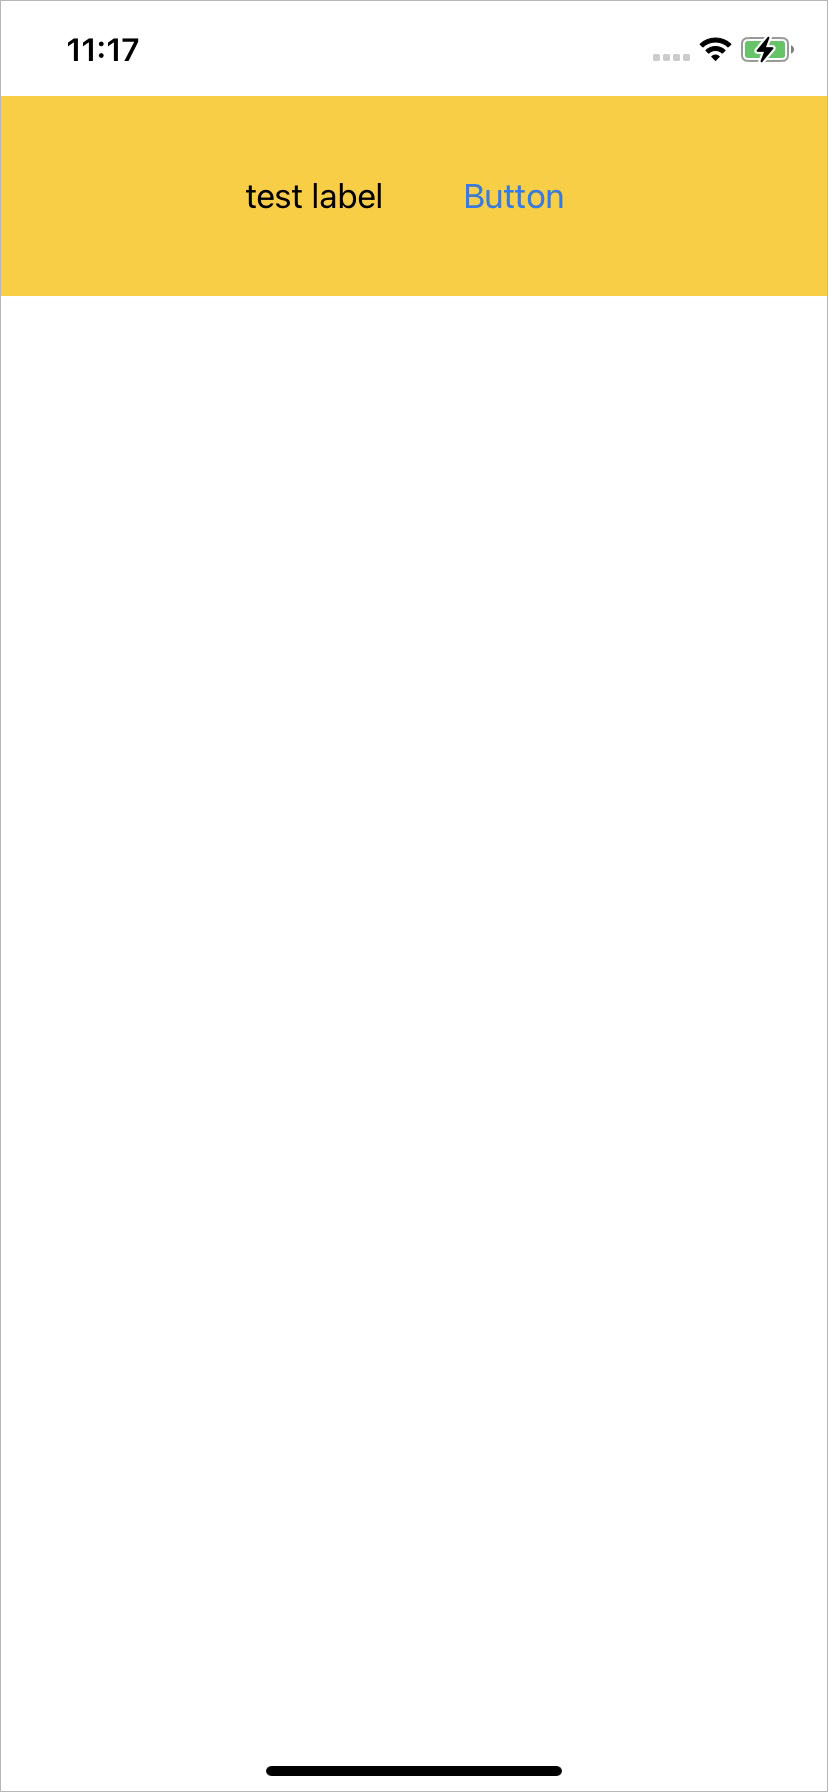
5. 번외 - Label Text 변경
label 텍스트를 변경하고 싶다면 아래와 같은 방법으로 가능합니다.
class ViewController: UIViewController {

    @IBOutlet weak var reusableView: ReusableView!

    override func viewDidLoad() {
        super.viewDidLoad()
        reusableView.label.text = "test label"
    }

}
* 실행 결과
'iOS > Swift + Objective-c' 카테고리의 다른 글
| [Swift / Obejctive-c] UIView를 UIImage로 변환하기 (render UIView to UIImage) (0) | 2022.06.14 |
|---|---|
| [Swift/Objective-c] 타이머 사용하기, 반복 작업하기 (Timer) (1) | 2022.03.03 |
| [Swift / Objective-c] 디바이스 모델명, OS 버전 조회 (Device Model, OS Version, iPhone/iPad/iPod) (3) | 2022.02.23 |
| [Objective-c] 메일 보내기 (Mail - MFMailComposeViewController) (0) | 2022.01.17 |
| [iOS] 호기심에 해보는 Framework Embed 버전 테스트 (0) | 2022.01.11 |